


![10 Best Floor Lamp for Reading [2026 Review]](http://www.homebaa.com/cdn/shop/articles/banner_c990b0a4-4743-4902-b6be-5609f7a21a90.webp?v=1766393057&width=400)


![How to Choose the Coffee Table Height? [2026 Newest Guide]](http://www.homebaa.com/cdn/shop/articles/coffee-table-height.webp?v=1766393873&width=400)


Have you ever stood in front of a wall, holding a beautiful wall lamp in your hand, but were forced to doubt your life by a bunch of wires and complicated installation steps? Don't worry, today we are going to talk about the gospel of lazy people - How to install battery-operated wall sconces! No need to drill holes, no need to wire, and even no need to hire an electrician. You only need a few batteries and a pair of skillful hands to easily light up the wall. Doesn't it sound easy? Don't worry, next, we will take you step by step to complete this "small project" so that you can easily enjoy the unrestrained charm of wall lamps!

Key Takeaways
- Putting up battery-powered sconces is simple and needs no wiring. Pick a mounting option like sticky tape, screws, or hooks.
- Get tools like a ruler, batteries, and mounting items ready first. Extra tools like a level or drill can help a lot.
- Think about where to place the sconces and how bright they should be. Try the light before finishing to make sure it looks good.
Installation Methods

Let's explore the most popular installation methods for battery-operated wall sconces.
Method 1: Using Adhesive Strips (Perfect for Temporary Installations)
If you're renting, don't want to damage your walls, or just prefer a non-permanent solution, adhesive strips are a great option. They're simple to apply, don't require drilling, and leave no marks when removed.
Materials
- Adhesive strips (such as Command Strips)
- Pencil or tape measure (optional)
- A level (optional)
Step-by-Step Guide
- Clean the Wall: Use a soft cloth and a mild cleaning solution to remove dust, dirt, and grease. This will ensure that the adhesive strips stick securely.
- Attach the Adhesive Strips to the Sconce: Follow the instructions provided with your adhesive strips. Most strips come with two parts: one for the wall and one for the sconce. Attach the adhesive strips to the back of the sconce, pressing firmly to ensure a secure bond.
- Position the Sconce on the Wall: Hold the sconce against the wall in your chosen location. Use a pencil to lightly mark where the sconce will go, or use a tape measure to ensure it is centered if needed.
- Press Firmly: Once you've aligned the sconce, press it firmly against the wall. Hold it in place for 30 seconds to one minute to ensure the adhesive strips are set properly.
- Wait and Insert Batteries: Allow the adhesive to set for about 15-30 minutes before inserting batteries and switching on the light.
This method is ideal for those who don't want to commit to a permanent installation. Plus, it's quick, easy, and doesn't require any tools.
Method 2: Using Screws (Permanent and Secure Installation)
If you're looking for a more secure, permanent solution, using screws to mount the sconce is your best option.
Materials Needed
- Drill
- Screws (appropriate for your wall type)
- Screwdriver
- Level
- Pencil or tape measure
Step-by-Step Guide
- Mark the Mounting Points: Using a pencil, mark where the screws will go on the wall. Measure carefully to ensure the sconce will be mounted at the correct height and in the desired position. A level can be used to make sure your marks are even.
- Pre-Drill Holes: For drywall or wood, use a drill to create pilot holes for the screws. If installed into drywall, consider using wall anchors to ensure the screws hold the sconce securely.
- Install the Mounting Bracket or Base: Many sconces come with a mounting bracket or base. Attach this bracket to the wall with screws, making sure it's aligned properly and securely fastened.
- Mount the Sconce: Once the bracket is installed, attach the sconce to the bracket. This may involve sliding the sconce into place or securing it with additional screws, depending on the design.
- Insert Batteries and Turn On the Light: With the sconce securely in place, insert the batteries and switch on the light.
Using screws ensures that the sconce stays securely in place, making this method ideal for long-term installations.

Method 3: Using a Mounting Plate with a Hook System
A mounting plate with a hook system is a fantastic option if you want a more flexible installation that allows you to easily remove and replace the sconce as needed.
Materials
- Mounting plate
- Screws and wall anchors
- Drill
- Level
- Hook system (included with some sconces)
Step-by-Step Guide
- Install the Mounting Plate: Follow the instructions to install the mounting plate on your wall. As with the screw method, measure carefully and use a level to ensure the plate is straight. Drill holes for the screws and use wall anchors if needed.
- Attach the Hook to the Sconce: If your sconce doesn't already have a hook, attach one to the back of the light. This will allow you to easily hang the sconce on the mounting plate.
- Hang the Sconce: Once the mounting plate is installed, simply hang the sconce on the hook.
- Insert Batteries and Adjust: Insert the batteries into the sconce and adjust the angle or direction of the light.
Method 4: Magnetic Mounting (Quick and Easy Setup)
Magnetic mounting is an innovative and easy way to install battery-operated sconces. The strong magnetic base allows for quick installation and removal without drilling or adhesives.
Materials
- Magnetic mounting base
- Adhesive or screws for the base (depending on the design)
- Batteries
Step-by-Step Guide
- Attach the Magnetic Base to the Wall: Follow the instructions to attach the magnetic mounting base to the wall. Depending on the design, you may need to use adhesive strips or screws to secure the base.
- Mount the Sconce: Once the base is in place, simply attach the magnetic part of the sconce to the wall-mounted base. The strong magnet will hold the sconce securely in place.
- Insert Batteries and Enjoy: Insert the batteries into the sconce and switch them on.
Tips and Considerations

Style and placement tips for different rooms
When deciding where to install battery-operated sconces, think about the vibe you want to create in each room.
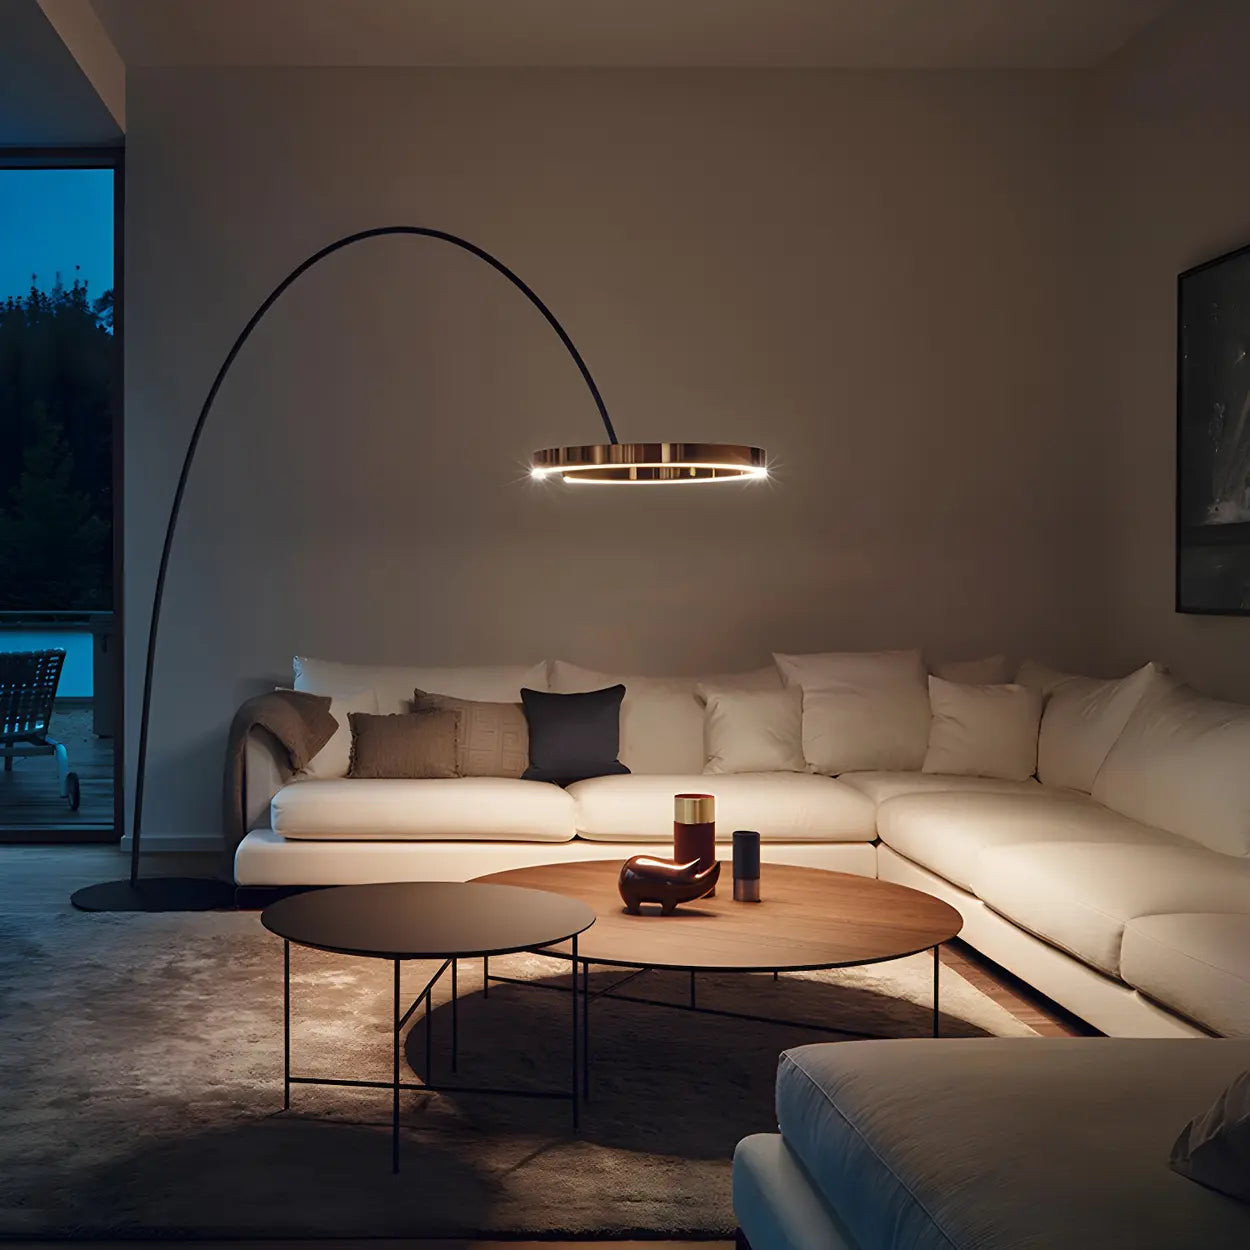
In the living room, place sconces on either side of a mirror or artwork to highlight the space.
For bedrooms, install them above nightstands or on the wall behind the bed for cozy, ambient lighting.
In hallways, evenly space them along the walls to brighten the path without overwhelming the area.
Tip: Keep sconces at eye level-around 5 to 6 feet from the floor-for the best visual effect. This height works well for most spaces and avoids harsh glare.
Maintenance tips (e.g., battery replacement and cleaning)
Battery-operated sconces are low-maintenance, but a little care goes a long way.
Replace the batteries as soon as the light dims to keep them shining bright. Most sconces make battery replacement easy, so you won't need tools.
For cleaning, use a soft, damp cloth to wipe away dust and smudges. Avoid harsh cleaners that could damage the finish.
Reminder: Check the battery compartment for leaks during replacements. Leaking batteries can damage the sconce and reduce its lifespan.
Choosing the right brightness and light color
Are you using the sconce for ambient lighting, task lighting, or accent lighting? For a relaxing atmosphere, go for warm white light (around 2700K). If you need task lighting, like in a home office or kitchen, choose a brighter, cooler light (4000K or higher). Many battery-operated sconces let you adjust brightness levels, so you can customize the lighting to fit your needs.
Conclusion
We believe that you have now mastered the secret of how to install battery-operated wall sconces. Do you feel that you have advanced from a "novice in decoration" to a "hands-on expert"? No electrician or wiring is required. Just a few steps can make the wall look brand new. It is even easier than assembling furniture! Now, you only need to choose a perfect location, install the wall lamp, press the switch, and you can enjoy warm and convenient lighting. Who said that a good-looking wall lamp must be tossed with a bunch of wires? With battery power, you can "light up" new things anytime, anywhere!
How to turn a wall sconce into battery operated?
How to turn a wall sconce into battery operated?
To change the wall light to battery power, you can use an LED bulb with built-in batteries or install a battery box to replace the original wire power supply. Make sure to choose the right battery and voltage to keep the wall light in normal use. This will avoid the trouble of wires and make it easy to replace batteries.
How does a battery-operated wall sconce work?
How does a battery-operated wall sconce work?
Battery-powered wall lights are powered by built-in batteries and usually use LED bulbs, which are energy-efficient and have a long battery life. Users can turn the light on and off with a switch or remote control without connecting a power cord. When the battery is exhausted, simply replace the battery to continue using it.
How do you install an electric wall sconce?
How do you install an electric wall sconce?
When installing an electric wall light, first determine the installation location and mark the holes. Then fix the wall light bracket to the wall, connect the power cord to the wall socket or wire, and finally fix the light to the bracket and make sure it is secure. After installation, check whether the power supply is working properly.
Do you need an electrician to install a wall sconce?
Do you need an electrician to install a wall sconce?
If the wall light needs to be plugged into a power source and wired, it is recommended to ask an electrician to install it to ensure safety. If it is a plug-in wall light or a wireless wall light, it can be easily installed by yourself. In either case, it is important to ensure that safety standards are met during the installation process.